How to Convert CD Audio Tracks to MP3
Rel updated on Nov 08, 2023 to Audio Editing Tips
When you insert a CD into the CD drive on your PC and check the files on it, you may find the audio files are stored in a format that can only be read with a CD drive available.
To copy music from the CD to your computer or convert the CD audio track to an audio format that is compatible with more devices, you need to rip music from a CD. During the ripping process, the CD ripper will store music files on your computer and convert them to a format like MP3, WAV, FLAC, and more.
By doing so, you can enjoy these music files without the CD and even transfer them to a mobile device so that you can listen to music more freely.
If that's what you want to do, learn how to convert CD audio tracks to MP3 on PC in three different ways and apply the one you like best to rip music from CD easily.
How to Convert CD Audio Tracks to MP3 with Windows Media Player
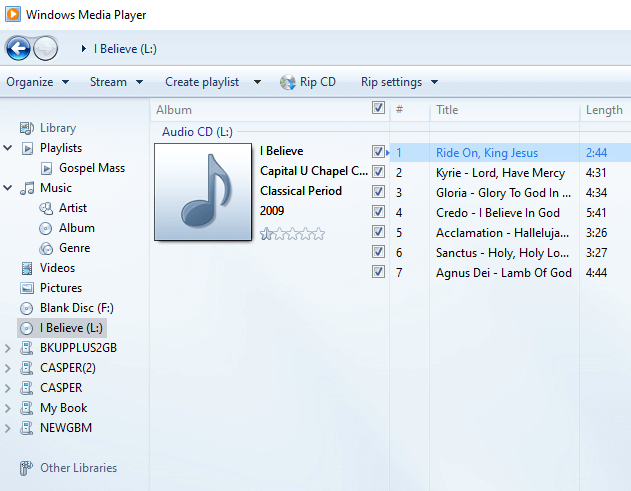
No software installation is needed. You can convert a CD to MP3 files on a PC using the built-in program - Windows Media Player. In addition to being a media player, it also allows you to burn audio files to a CD or rip audio from a CD.
When it comes to copying songs from a CD to your computer, Windows Media Player supports formats like MP3, WMA, WAV, FLAC, and ALAC. No matter which target format you choose, commonly-used MP3 or lossless FLAC, Windows Media Player is enough to fulfill your needs.
Since you want to rip a CD to MP3, you need to change the corresponding settings so that the ripped songs will be saved in the format you prefer. Here are the steps to change the settings:
Step 1. Go to Windows Media Player.
Step 2. Click "Organize" from the menu bar and select "Options."
Step 3. Go to the "Rip Music" tab and choose "MP3" in the Rip settings section.
Step 4. By default, the ripped songs will be saved in the "Music" folder. If you want to change the location, click "Change" and choose your target folder.
To rip music from a CD to MP3:
Step 1. Insert the CD to the CD drive on your computer.
Step 2. In Windows Media Player, click "Rip CD."
Step 3. When the ripping process has over, go to the selected folder to check the MP3 files.

How to Convert CD to MP3 on Windows via VLC
As a cross-platform media player, VLC is also compatible with Windows computers and is helpful to convert CD audio tracks to MP3. You can try this alternative way if Windows Media Player doesn't work as you expect. Download and install the VLC media player on your computer, and then follow the steps below to convert a CD to MP3. (Other than CD ripping, VLC is also helpful in file conversion. For example, you can convert MP3 to OGG with it.)
To rip CD to MP3:
Step 1. Insert the CD into the CD drive on your computer.
Step 2. Launch VLC Media Player and go to "Media" > "Convert/Save."
Step 3. Click the "Disc" tab and select "Audio CD."
Step 4. Click "Browse" and select the CD you want to rip.
Step 5. Select the start point and click "Convert/Save."
Step 6. In the new window, click "Profile" and select the tool icon. Here you can set the audio codec and other options. Once you've done, click "Save."
Step 7. Click "Start" in the Convert window to start ripping audio from the CD to your computer.

How to Rip CD to MP3 with a CD Ripper
If you just want to rip music from a CD to MP3, using either of the tools introduced above will get it done in most cases. But there may be situations in which you need further editing the audio files. That's when you are recommended to try the audio editor - EaseUS MakeMyAudio. This all-in-one audio toolkit will help to:
- Rip/burn CDs
- Record audio on PC
- Edit audio files
- Convert one audio format to another
- Convert videos to MP3
- Edit ID3 tags
It is a versatile tool that will satisfy your various needs for audio editing. Don't hesitate to give it a try.
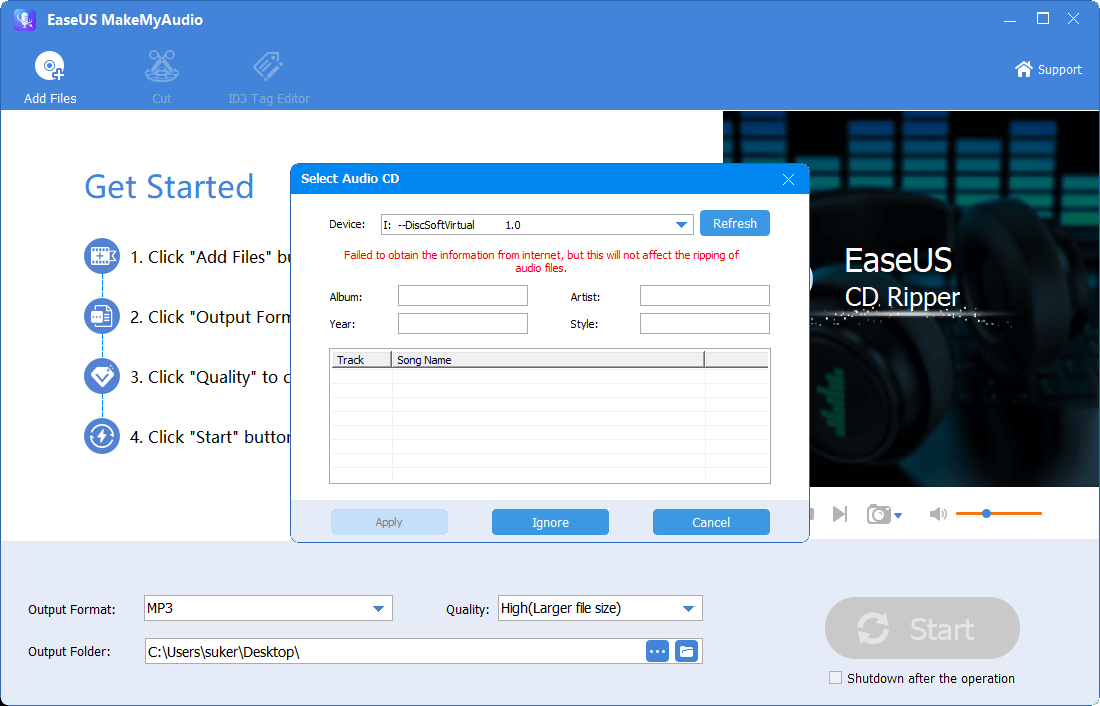
Step 1. Insert the CD into your computer CD drive and launch EaseUS MakeMyAudio. Click "CD Ripper" > "Add Files" > "Audio CD" and select the source CD. When a popup appears, click "Ignore" to continue.

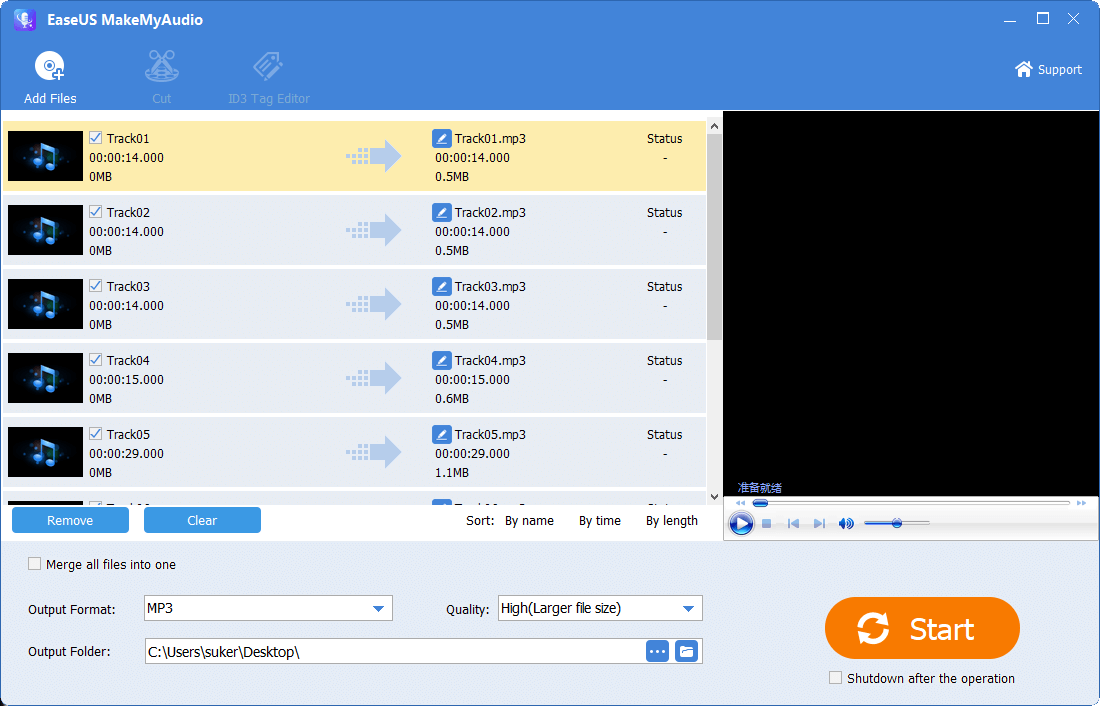
Step 2. Then the CD ripper will read the audio files on the CD. Select the target audio format, quality, and storage path accroding to your need. Then click "Start" to begin the CD ripping process.

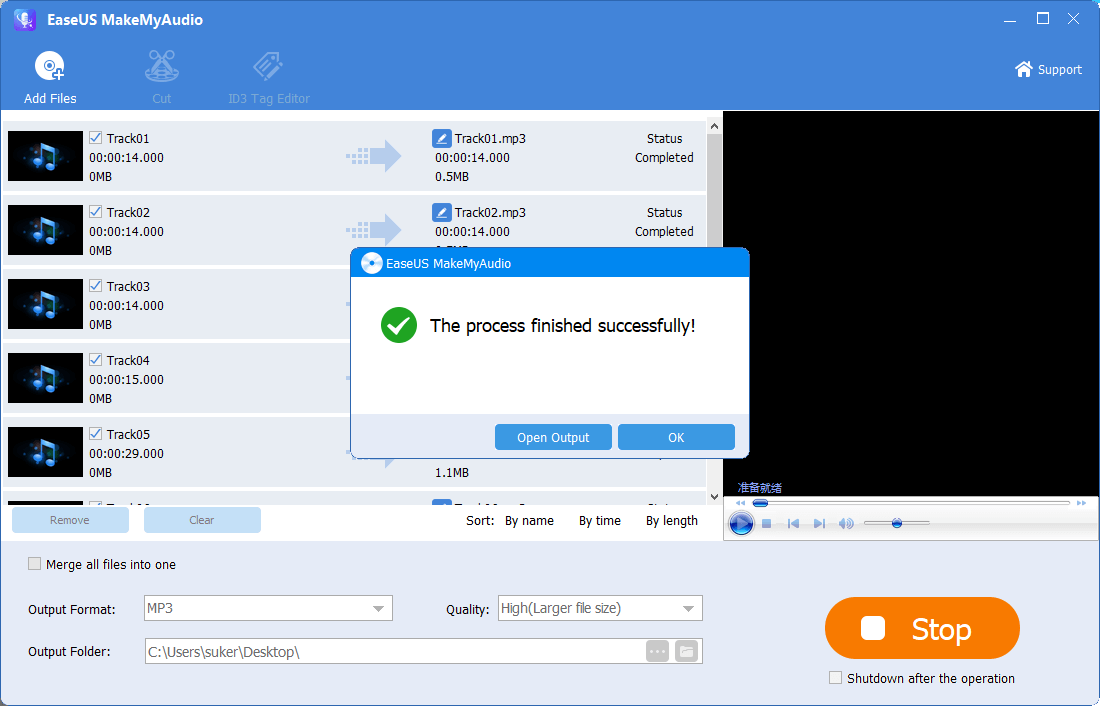
Step 3. When it has done, go to the selected folder to check the audio files you rip from the CD.

The Bottom Line
With the MP3 files you get, you can make custom iPhone ringtones or transfer them to a mobile device to make them portable. The next time you want to rip a CD or burn a CD, you can also use one of these tools to help yourself out.


